

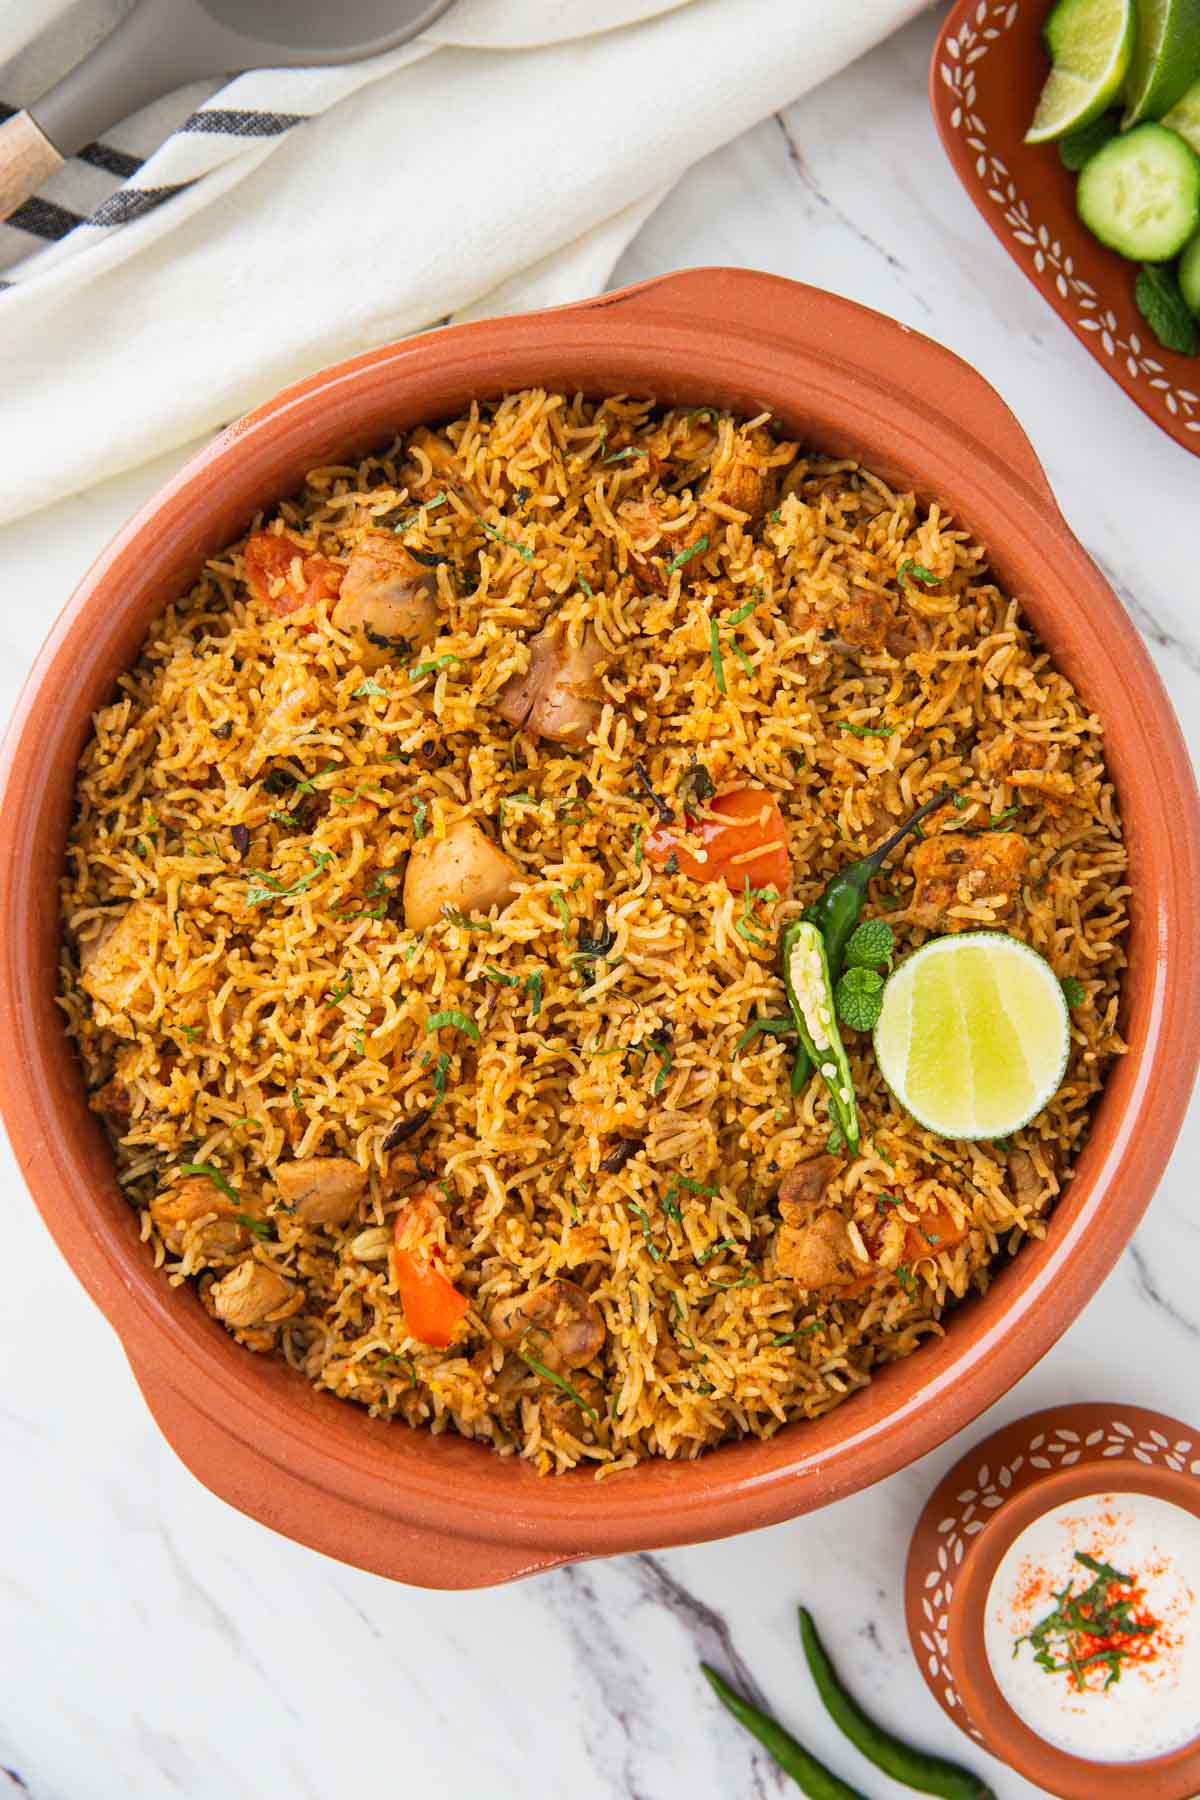
Make flavorful and healthy Instant Pot chicken biryani at home using this simple and easy-to-follow recipe. A perfect rice dish for people who are busy and want to enjoy authentic Indian chicken biryani at home.
If you love eating biryani and cook it at home, this Instant Pot chicken biryani is the perfect dish you can try easily. It has all the authentic Indian flavors. Moreover, this recipe is not complicated, and beginner cooks can also make it at home without much effort.
Do not have an Instant Pot? No worries, I also have recipes for easy chicken biryani and vegetable biryani that you can make in one pot on a regular stovetop.
What is Biryani?
Biryani is an aromatic and flavorful rice dish prepared using exotic Indian spices, fresh herbs, meat, and long grain basmati rice.
Traditionally biryani is an involved recipe. It's a two-step process, 1. prepare the chicken marinade and cook it partially 2. cook the rice partially with whole spices. Finally, in a large pot, layer these partially cooked chicken and rice; seal the pot and cook it on low heat to develop the flavors.
This is the best and perfect way to get the most of the flavors in the biryani. However, for novice cooks as well busy people making this dish at home is overwhelming. Moreover, it is essential to cook the rice and chicken at each stage so perfectly that the end dish does not end up raw or overcooked.
Therefore, Instant Pot Biryani is much more simplified, yet it has all the flavors as in the classic recipe. So, this quick and easy biryani recipe is for those who do not have enough time to make it the classic way, yet they want to enjoy all its flavors whenever you crave biryani.
What you will need
- Rice - use long grain aromatic basmati rice.
- Chicken - boneless skinless chicken thighs that cut into bite-size pieces.
- Yogurt - for making marination base
- Garlic and ginger - use finely chopped ginger and garlic and make it into a paste.
- Onions - cut into half and then slice them. You can also use deep-fried or air-fried onions. Caramelized onions are one of the key ingredients that give a unique flavor to the biryani.
- Fresh herbs - use a generous amount of fresh mint and cilantro into the marinade and then garnish the dish.
- Spices - use biryani masala, chili powder to marinate the chicken, and whole spices like black cumin seeds (aka shah jeera), cloves, cinnamon stick, black pepper, green cardamom to flavor the rice.
- Oil/Ghee - I prefer using ghee (clarified butter).
How to make Instant Pot Chicken Biryani?
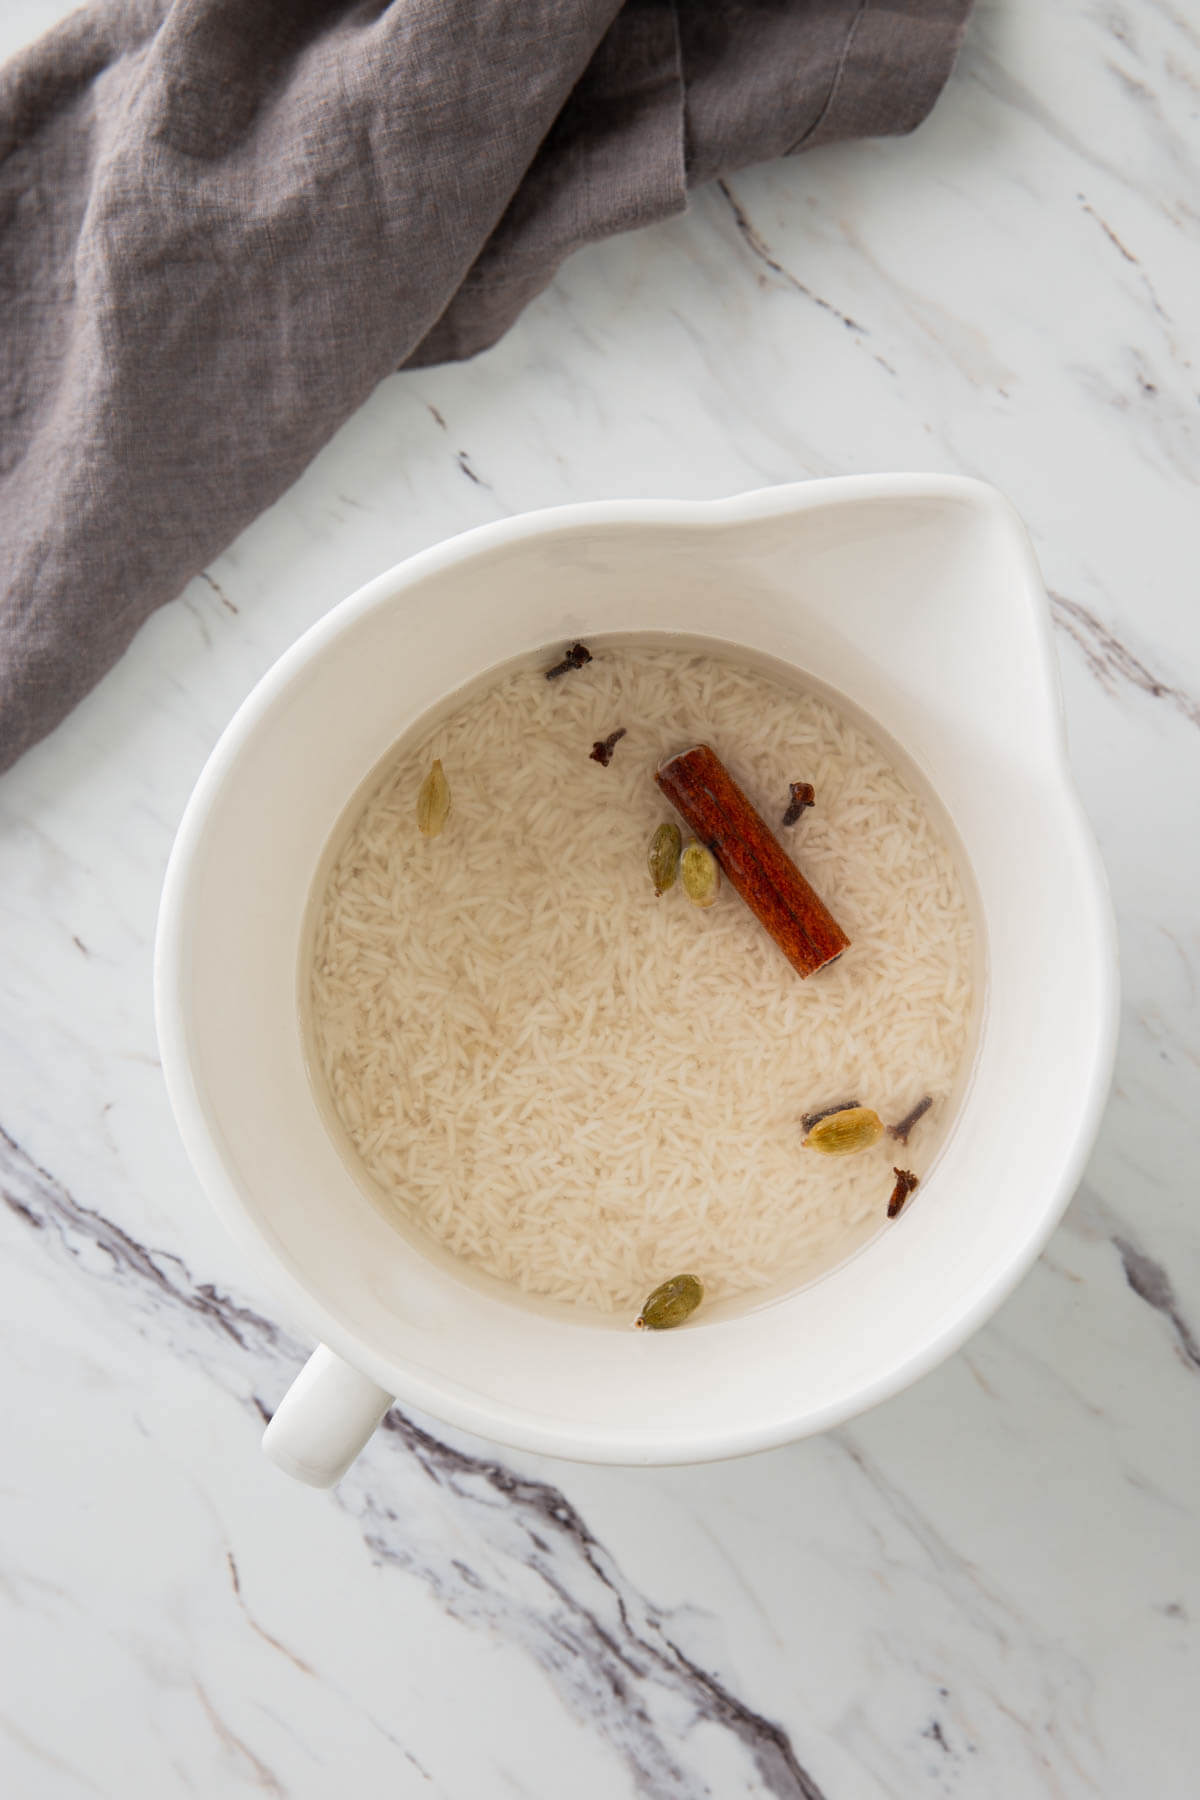
Preparing rice
Soak the rice in warm water for at least 15 min. Also, add whole spices like green cardamom, clove, and cinnamon stick to the mixture. These spices will infuse and add flavor to the rice.
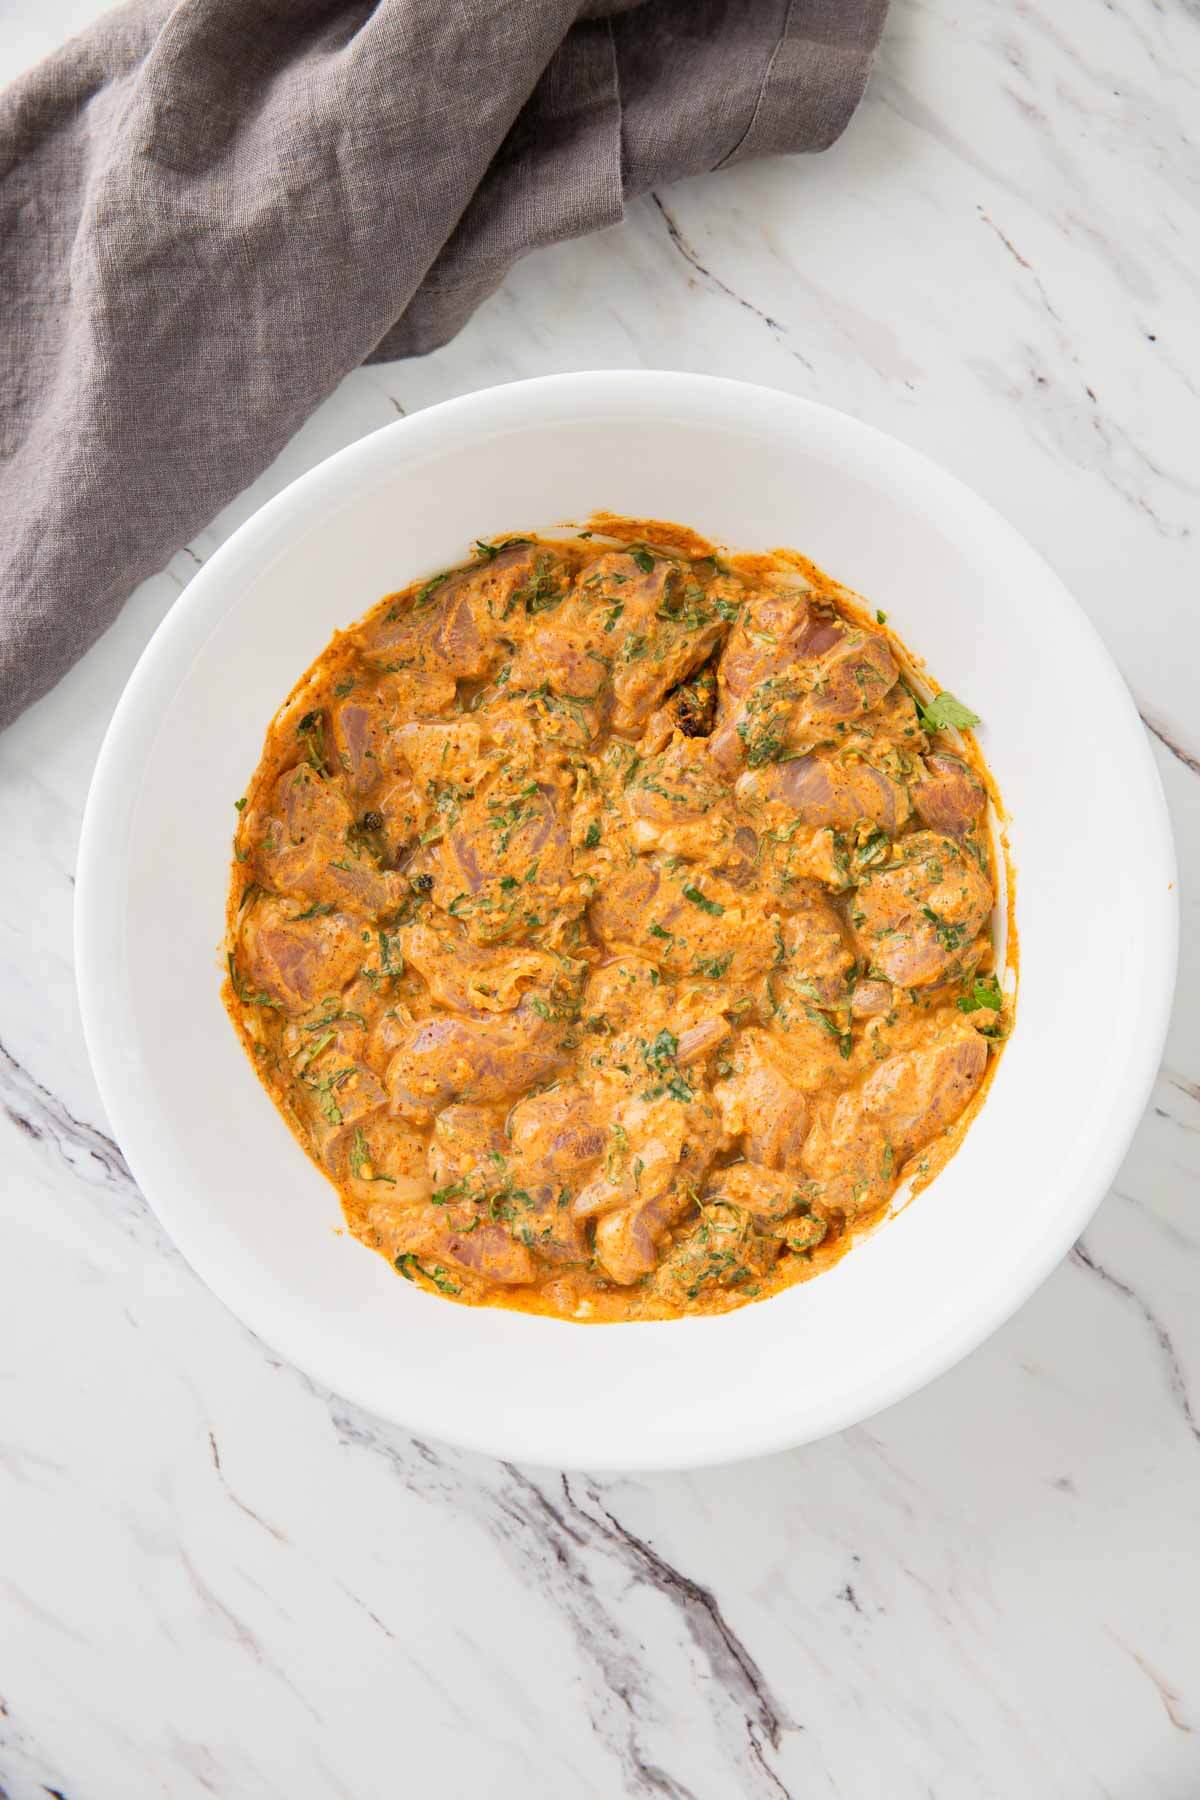
Preparing chicken marinade
Firstly, cut the chicken into bite-size pieces. Then, in a small mixing bowl, combine yogurt with ginger, garlic, biryani masala, fresh herbs, chili powder, and salt. Finally, in a large mixing bowl, mix this marinade with the chicken.
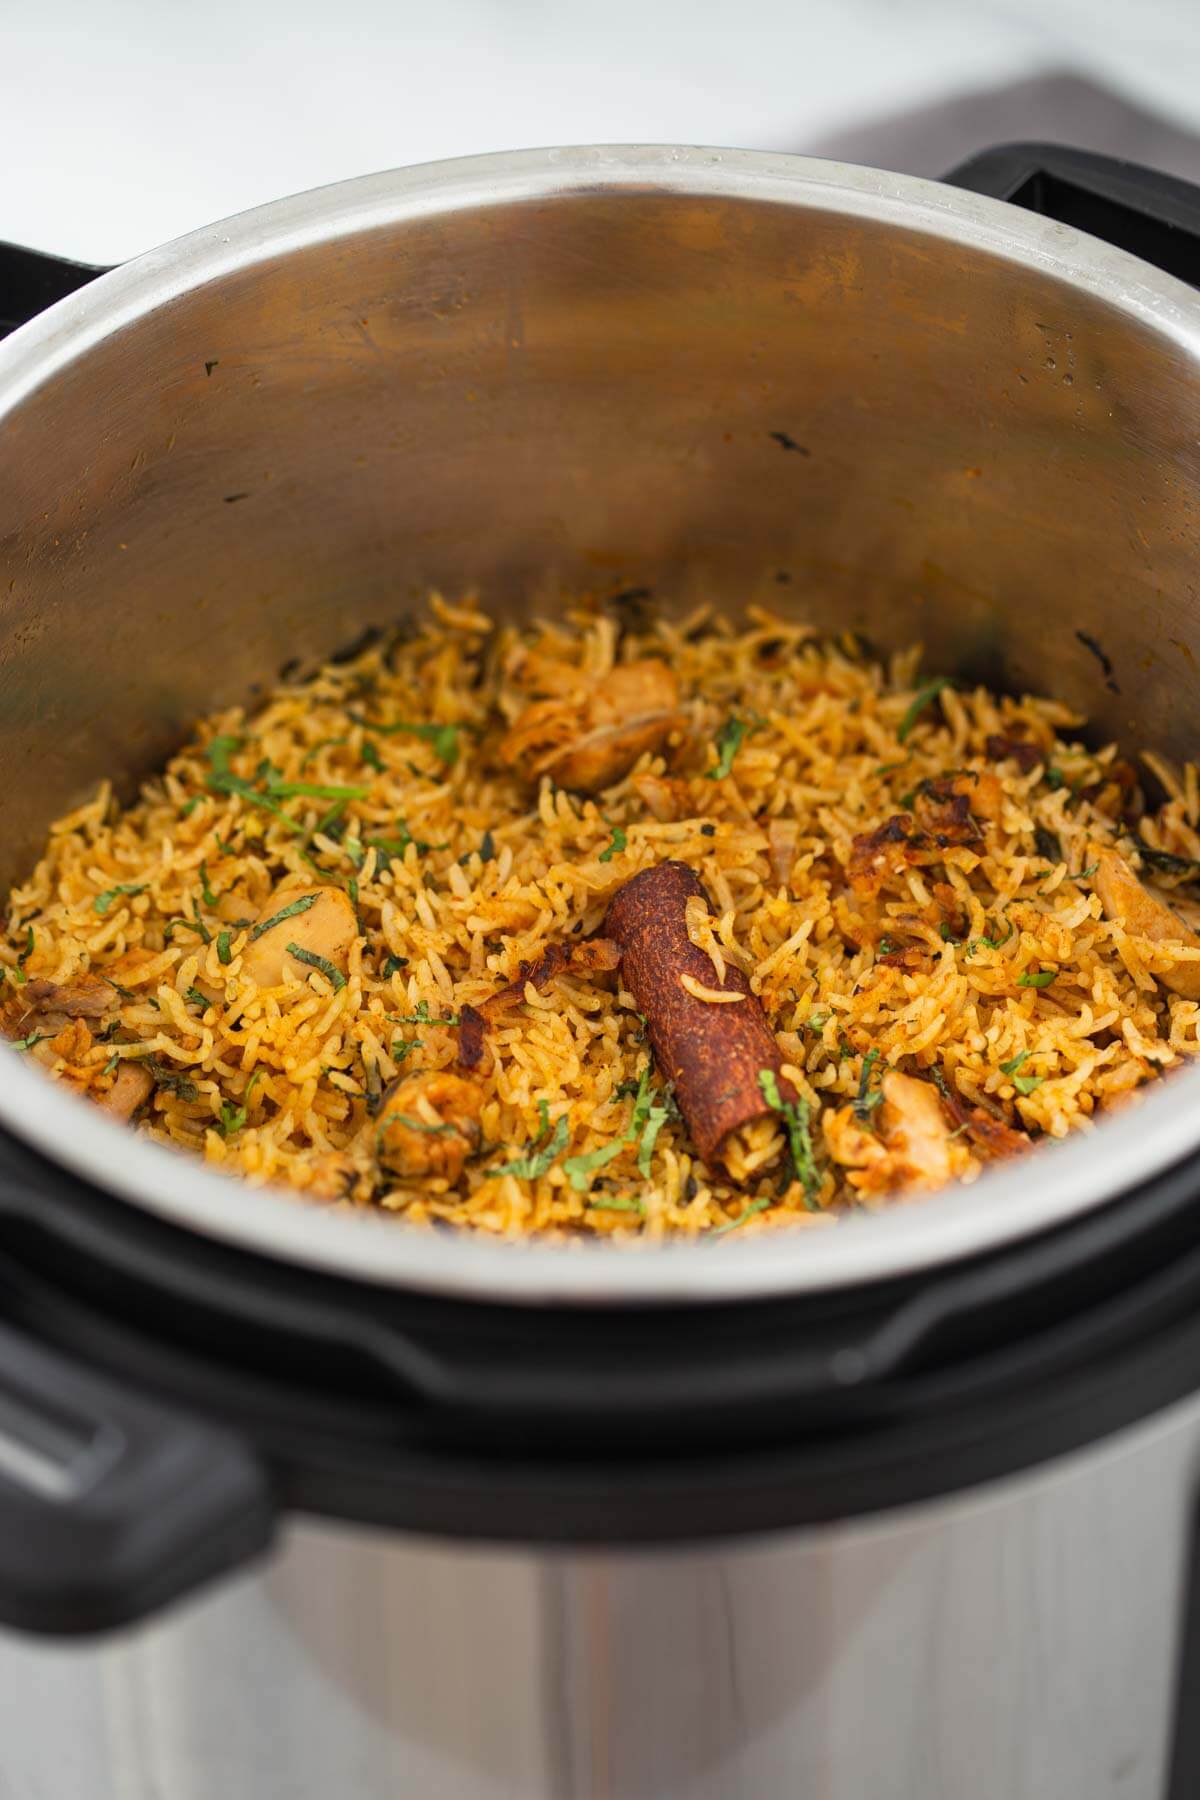
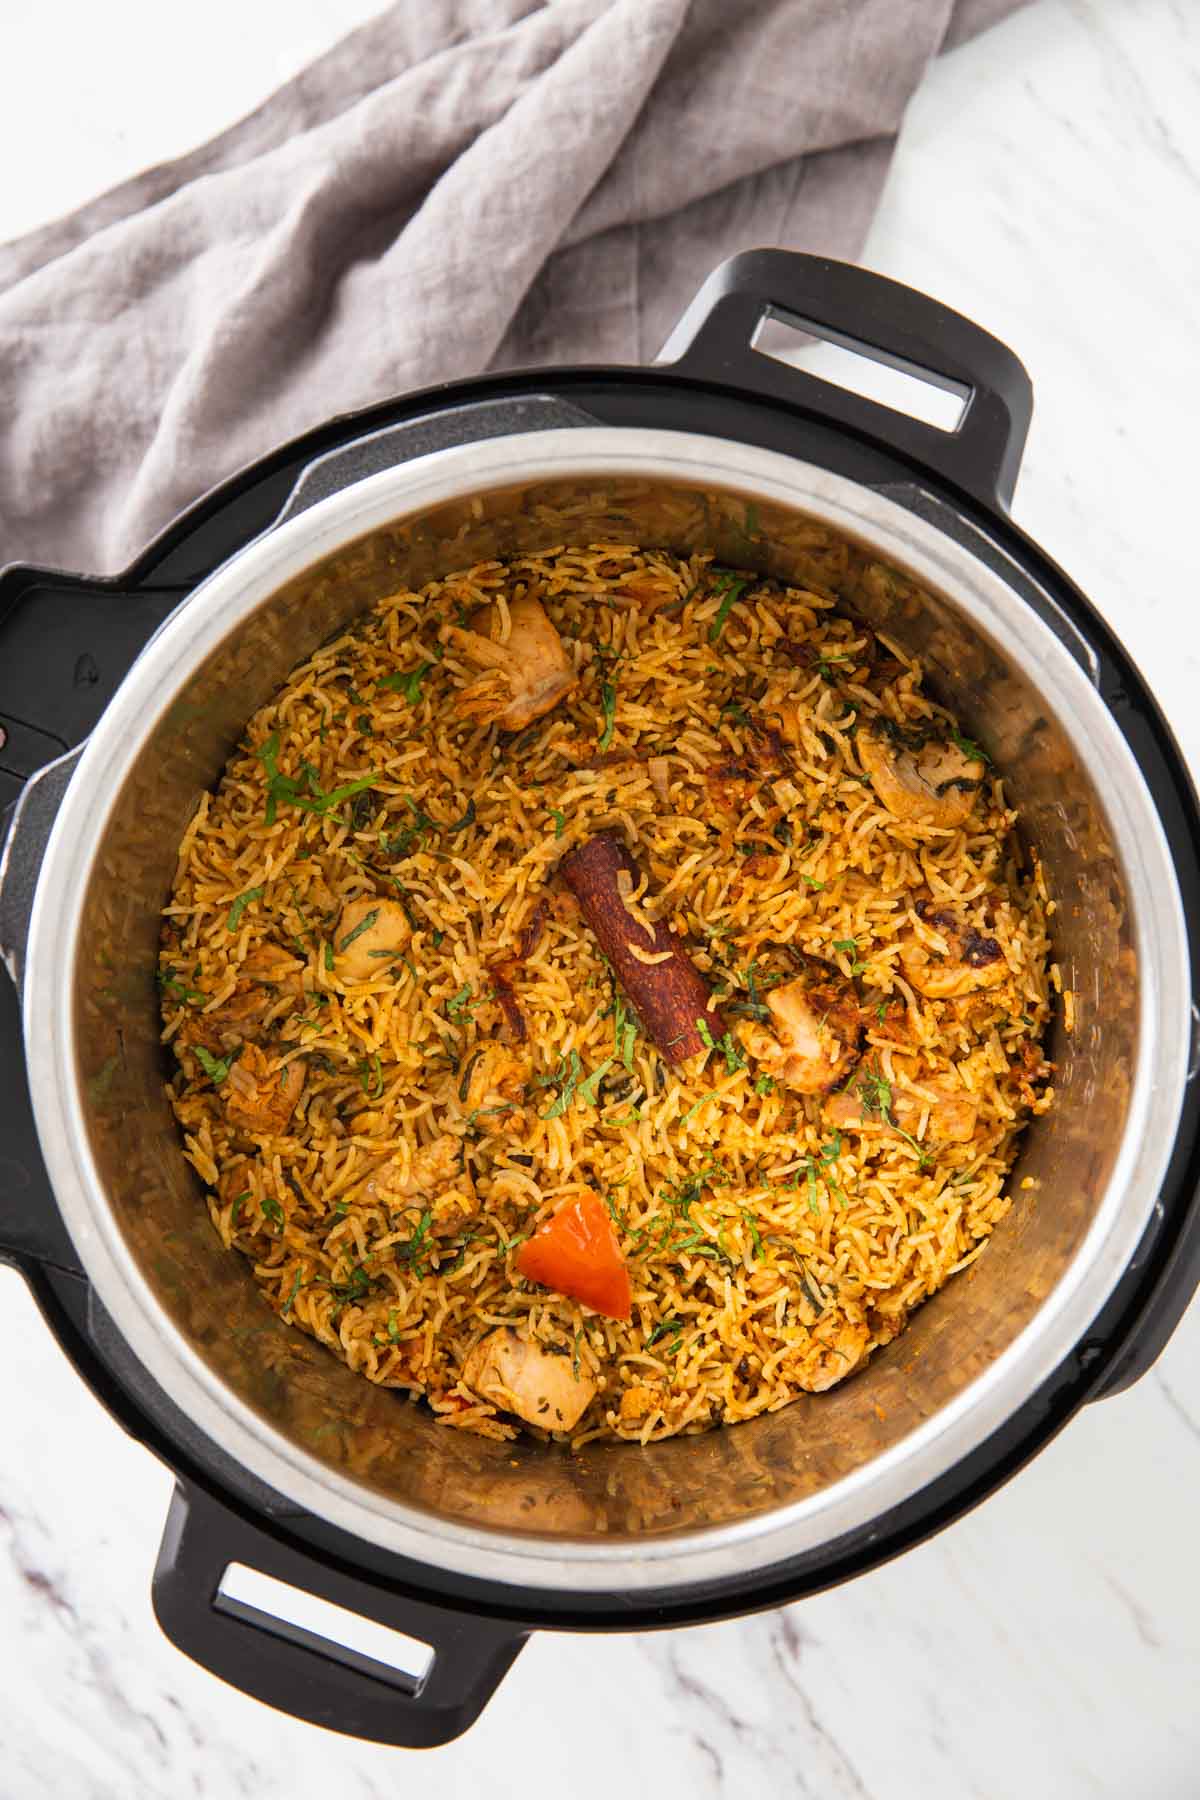
Cooking chicken biryani in Instant Pot
On high sauté mode, cook sliced onion in some ghee until it turns dark golden brown or develops caramelized flavors. Add marinated chicken and cook for about 10 min. Now add soaked rice along with the water and whole spices. Spread it gently and evenly. There is no need to mix it completely with the chicken. Add a few strands of saffron (optional), more fresh herbs, and chopped tomato. Cover the pot and cook the mixture on manual LOW-PRESSURE mode for 5 min. Then release the pressure manually and keep the biryani covered for 20 min to develop the flavors. Serve warm.
Helpful Tips!
- Chicken - Use organic and pasture-raised chicken whenever possible. For this recipe, I prefer to use boneless skinless chicken thighs that I cut into bite-size pieces.
- Soaking rice - Soaking the rice in water with spices helps to infuse its flavors and make it more flavorful.
- Onion - You can also use air-fried onion and skip the step of cooking or caramelizing onion.
- Pressure release - Once the cooking timer is off, immediately release the pressure manually. Do not open the lid and let the biryani sit in IP for 20-25 mins. It will help the dish to develop the flavors without overcooking.
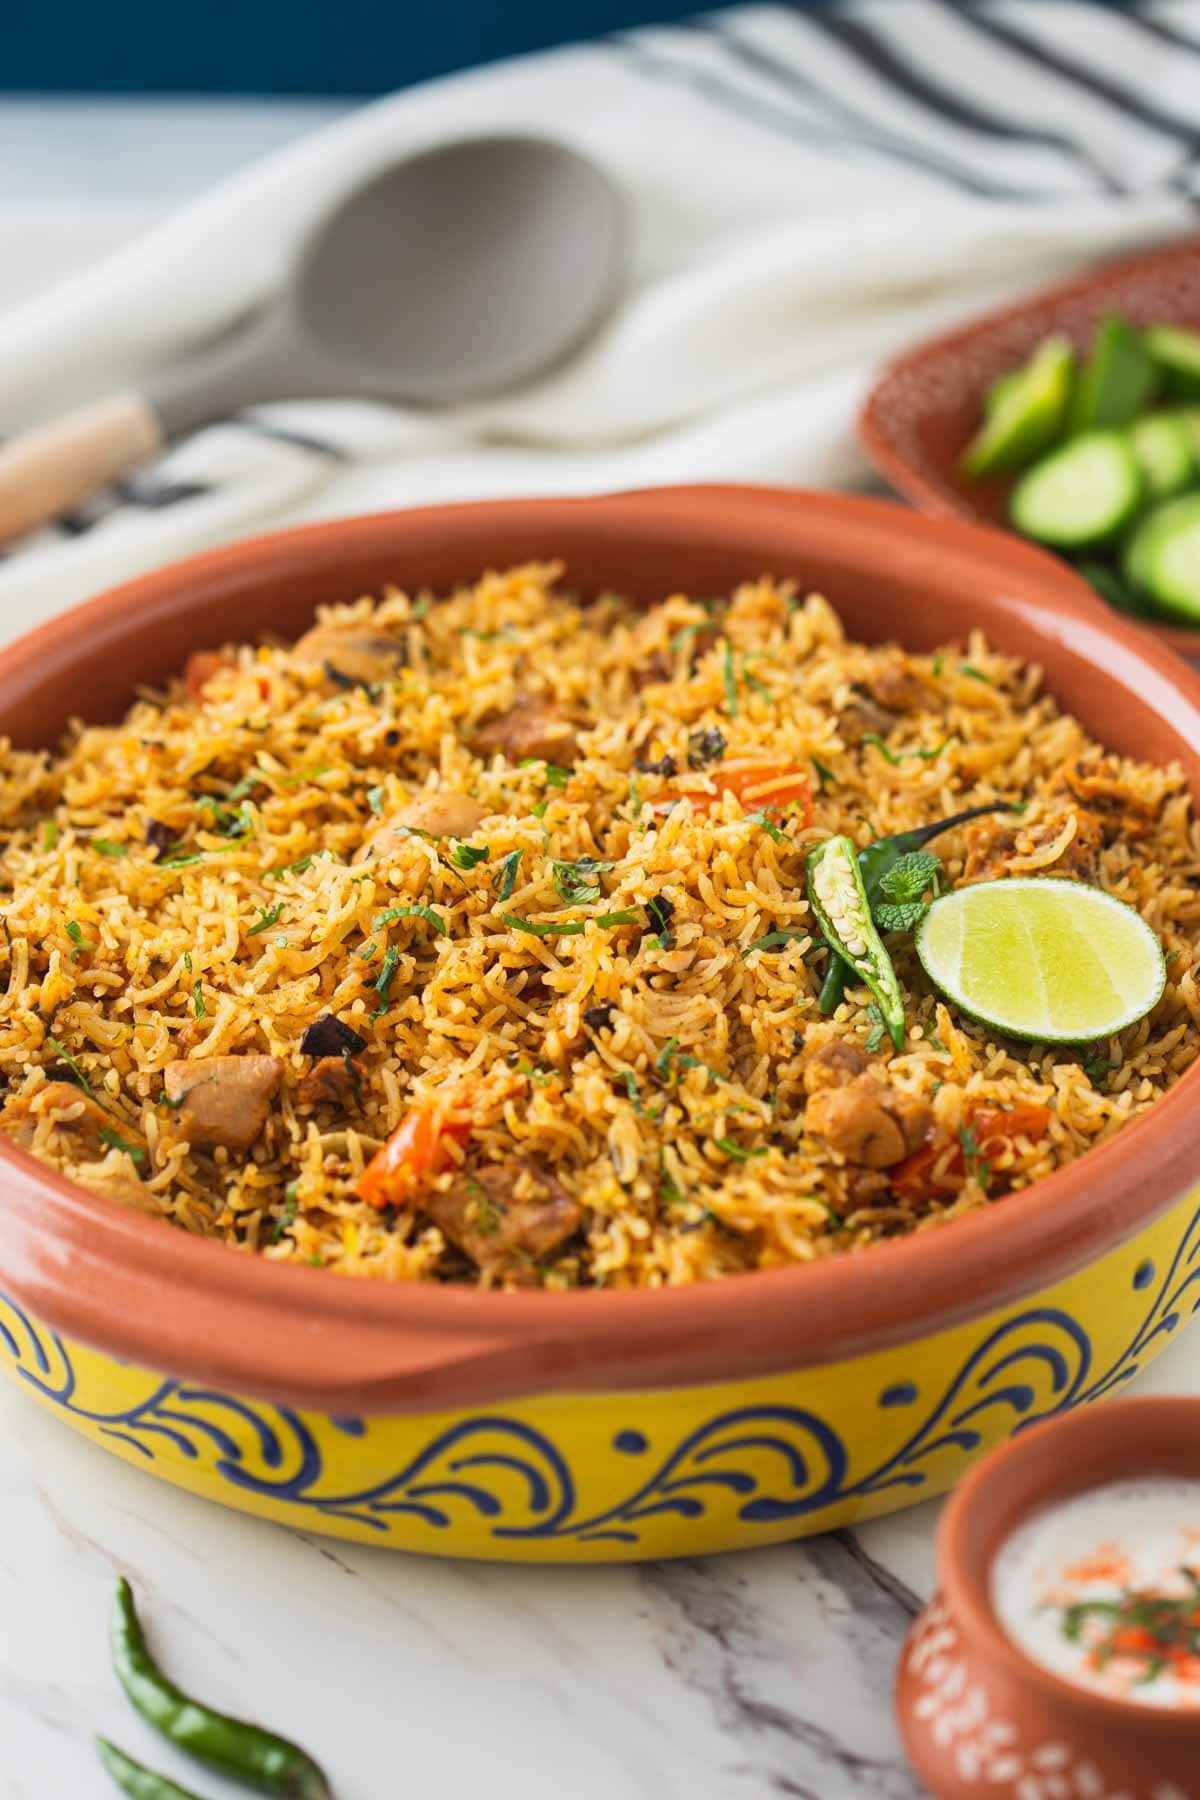
What to serve with chicken biryani?
- Usually, chicken biryani is served with raita, which is prepared using yogurt, roasted ground cumin, and some water.
- For the Indian banquet, you can prepare this chicken biryani along with naan bread and curries like chickpea tikka masala or palak paneer. You can also include mango lemonade or homemade mango lassi to complement the menu.
Recipe variations
- If you want to make biryani without any meat, try this similar recipe for Instant Pot veg biryani. A perfect option for a vegetarian/vegan diet.
FAQs
Is it necessary to soak the rice?
The answer is Yes.
Soaked rice cooks evenly and gives a nice appearance to the final dish. Also, Instant Pot takes very little time to cook the rice, which is not sufficient to absorb the flavors from the spices. Therefore soaking rice in water and some whole spices allows the rice to infuse the flavors.
Which rice is best for biryani?
Long grain aromatic basmati rice is the preferred choice for making biryani. Upon cooking, aromatic long grain rice gives a beautiful look and flavor to the biryani.
How to use leftover chicken biryani?
Sprinkle some water over the leftover biryani, cover, and microwave for 2-3 min a microwave-safe bowl.
MORE RECIPES TO TRY IN INSTANT POT
- Whole Cauliflower in Instant Pot
- Instant Pot Whole Chicken
- Instant Pot Vegetable Biryani
- Easy Black Bean Soup
- Instant Pot Mexican Brown Rice
- Easy Instant Pot Chicken Drumsticks
YOU WILL ALSO LOVE THESE INDIAN RECIPES
📖 Recipe

Healthy Instant Pot Chicken Biryani
Would you like to save this recipe?
Equipment
Ingredients
Chicken Marinade
- 1 ½ lb chicken thighs cut into bite-size pieces
- 2 large onions thinly sliced
- ½ cup yogurt
- 2 tablespoon biryani masala
- 1 teaspoon garam masala optional for more flavors
- 2-3 garlic cloves finely chopped
- ½” ginger peeled and finely chopped
- 1 tablespoon lemon juice
- ⅓ cup loosely packed cilantro leaves
- ⅓ cup loosely packed mint leaves
- 1 tablespoon oil or ghee
- salt
Rice Preparation
- 2 cup basmati rice
- 2 ½ cup warm water
- 4-5 green cardamom
- 4-5 cloves
- 1 cinnamon stick
Instructions
- Soak the rice in water with green cardamom, cloves, and cinnamon for 20-30 min.
- In a small bowl, prepare marinade using yogurt, biryani masala, garam masala, finely chopped garlic and ginger, lemon juice, chopped cilantro, mint, and salt. In a large mixing bowl, mix this marinade with chicken and keep it aside. Save some fresh herbs to use later on.
- Heat oil or ghee on high saute mode in the Instant Pot.
- Saute sliced onions for about 10 mins or until golden brown in color.
- Add marinated chicken and cook for about 10 min.
- Add soaked rice along with water and spices. Gently mix with chicken.
- Then add chopped tomato, a few threads of saffron (optional), remaining chopped mint, and cilantro.
- Cover the pot, turn off the saute mode and cook the mixture on LOW PRESSURE for 5 min. Once the timer is off, release the pressure and keep the biryani covered for 20 min to develop the flavors. Do not open the lid after releasing the pressure. Serve warm.
Notes
- You may notice a slight brownish layer on the bottom of the IP while caramelizing the onion. While cooking the marinated chicken, simply scrape the bottom surface using a spatula to deglaze the pot. It will help to avoid getting burnt signals on the IP while cooking the biryani.
- After removing the pressure manually, do not open the lid but keep the valve in the vent position to avoid building up steam and overcooking the rice.
- Before serving, gently fluff and mix the rice to avoid breaking the rice grains.
- If you have pre-made fried onions use them instead of caramelizing onion and skip step no. 4 above. Just add fried onions to the chicken while cooking. It will save you time. Most of the time I use healthy air fried onions in this recipe instead of sautéing it.
Nutrition


Kaleigh says
Seeing chopped tomato in the instructions but not ingredient list, how much tomato should be added? Is this fresh tomato or canned? Thanks!
Kaleigh says
Do you think skinless drumsticks would work just as well? Boneless thighs are expensive where I live
Hi, You can use chicken drumsticks instead, just cook them little longer (18-20 mins) before adding rice. I hope this helps.
Lisa Schaffer says
Excellent recipe! Very tasty, fast and very easy to make. I added a bit more chicken and swapped the jalapeño for a Fresno, and added 1\2 a tsp Kashmiri chili powder for a bit more heat.
Sandeep says
I have always loved making this recipe, and every time the rice was perfect in texture. Hard to believe that you can get similar flavors as the traditional way of making biryani. Will highly recommend this recipe!!